Writing to the OLED screen
Introduction
In this section, we will explore how to write text to an OLED screen using Python. We will be using the SSD-1306 driver from luma.oled library to accomplish this task. By following the steps outlined below, you will be able to display custom messages on your OLED screen connected to your Raspberry Pi.
Display on the OLED screen
Writing to the OLED with Python
To write to the OLED screen we will be using the SSD-1306 drive from luma.oled.
- In GitHub, on your repo page select
Add fileand thenCreate new file. - Name the file
display-hello-world.pyand copy and paste in the following code:
from luma.core.interface.serial import i2c
from luma.oled.device import ssd1306
from luma.core.render import canvas
from time import sleep


serial = i2c(port=1, address=0x3C)
device = ssd1306(serial)
with canvas(device) as draw:
    draw.rectangle(device.bounding_box, outline="white", fill="black")
    draw.text((30, 40), "Hello World", fill="white")
sleep(60)
If you are using a different driver to SD1306, you will need to modify the script.
3. On the right hand side, press Commit Changes.
Explaining the python script
display-hello-world.py is a simple script that uses SSD1306 drivers provided by luma.oled.
serial = i2c(port=1, address=0x3C)
device = ssd1306(serial)
You first open an i2c serial port at the address you discovered in the check-i2c-connection job. Afterwards, you then declare that this i2c connection is of type ssd1306.
with canvas(device) as draw:
    draw.rectangle(device.bounding_box, outline="white", fill="black")
    draw.text((30, 40), "Hello World", fill="white")
sleep(60)
In the rest of the script, you open a canvas on the device and draw a rectangle and some text on the screen. The python script then sleeps for sixty seconds before exiting and turning off the screen.
Modifying the device script
You need to also modify your raspberry-pi-4 device.
- In BeetleboxCI, go to the
Devicepage and click the cog icon next toraspberry-pi-4. - Modify the file to the following, making sure to replace your username and address:
devices:
 raspberry-pi-4:
  connection: ssh -o StrictHostKeyChecking=no <username>@<address>
  transfer: bash -c "scp -o UserKnownHostsFile=/dev/null -o StrictHostKeyChecking=no -r $SOURCE $DESTINATION"
  prompt: "$"
You are now including a new keyword transfer. This will provide the command that BeetleboxCI can use in order to transfer files to the device. You will now add a job that makes use of this keyword.
Creating a job in BeetleboxCI to execute the script
Now that you have the script, you will need to add a new job in BeetleboxCI to execute it.
- Go back to the configuration editor in BeetleboxCI.
- Add the following into your job section:
  run-display:
    runner: ubuntu-runner
    device: raspberry-pi-4
    depends:
      - check-i2c-connection
    input:
      artifact:
        - id_rsa
    steps:
      - run:
          name: Setup SSH keys
          command: |
            mkdir ~/.ssh
            cp ./id_rsa ~/.ssh/id_rsa
            chmod 600 ~/.ssh/id_rsa
            eval "$(ssh-agent -s)"
            ssh-add ~/.ssh/id_rsa
      - transfer:
          name: Transfer
          SOURCE: ./display-hello-world.py
          DESTINATION: andrewswirski@192.168.1.95:~/
      - run:
          name: Create an env
          on-device: True
          command: |
            python3 -m venv ~/luma-env
      - run:
          name: Install luma
          on-device: True
          command: |
            ~/luma-env/bin/python -m pip install --upgrade luma.oled
      - run:
          name: Run display python script
          on-device: True
          command: |
            ~/luma-env/bin/python display-hello-world.py
          fail: "Error"
- Also modify your workflow to the following:
workflows:
  getting-started-rasp-pi:
    jobs:
      - check-i2c-connection
      - run-display
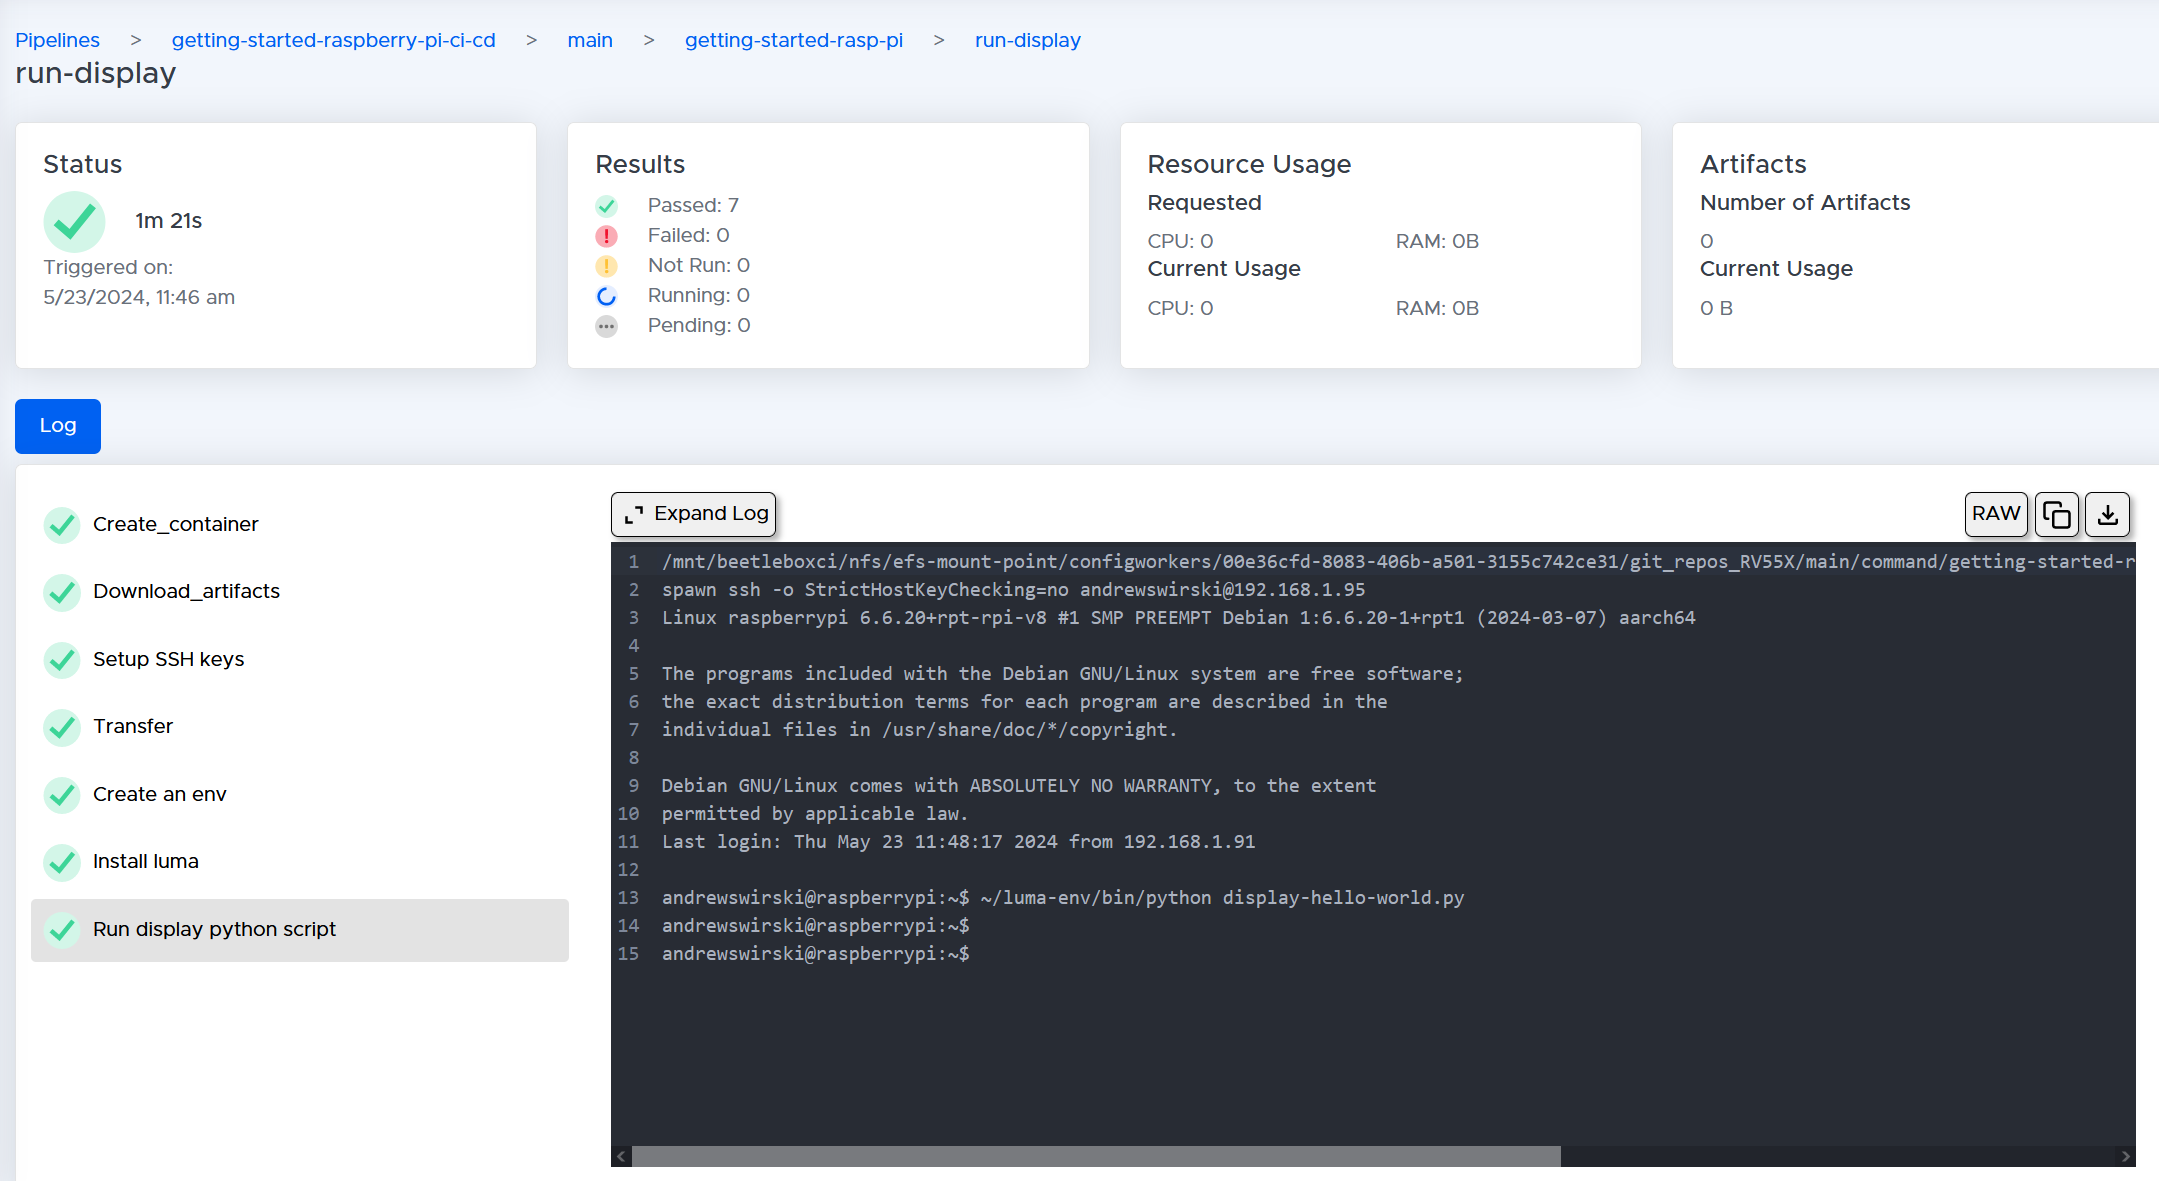
- Save and commit your changes. Then run the pipeline.
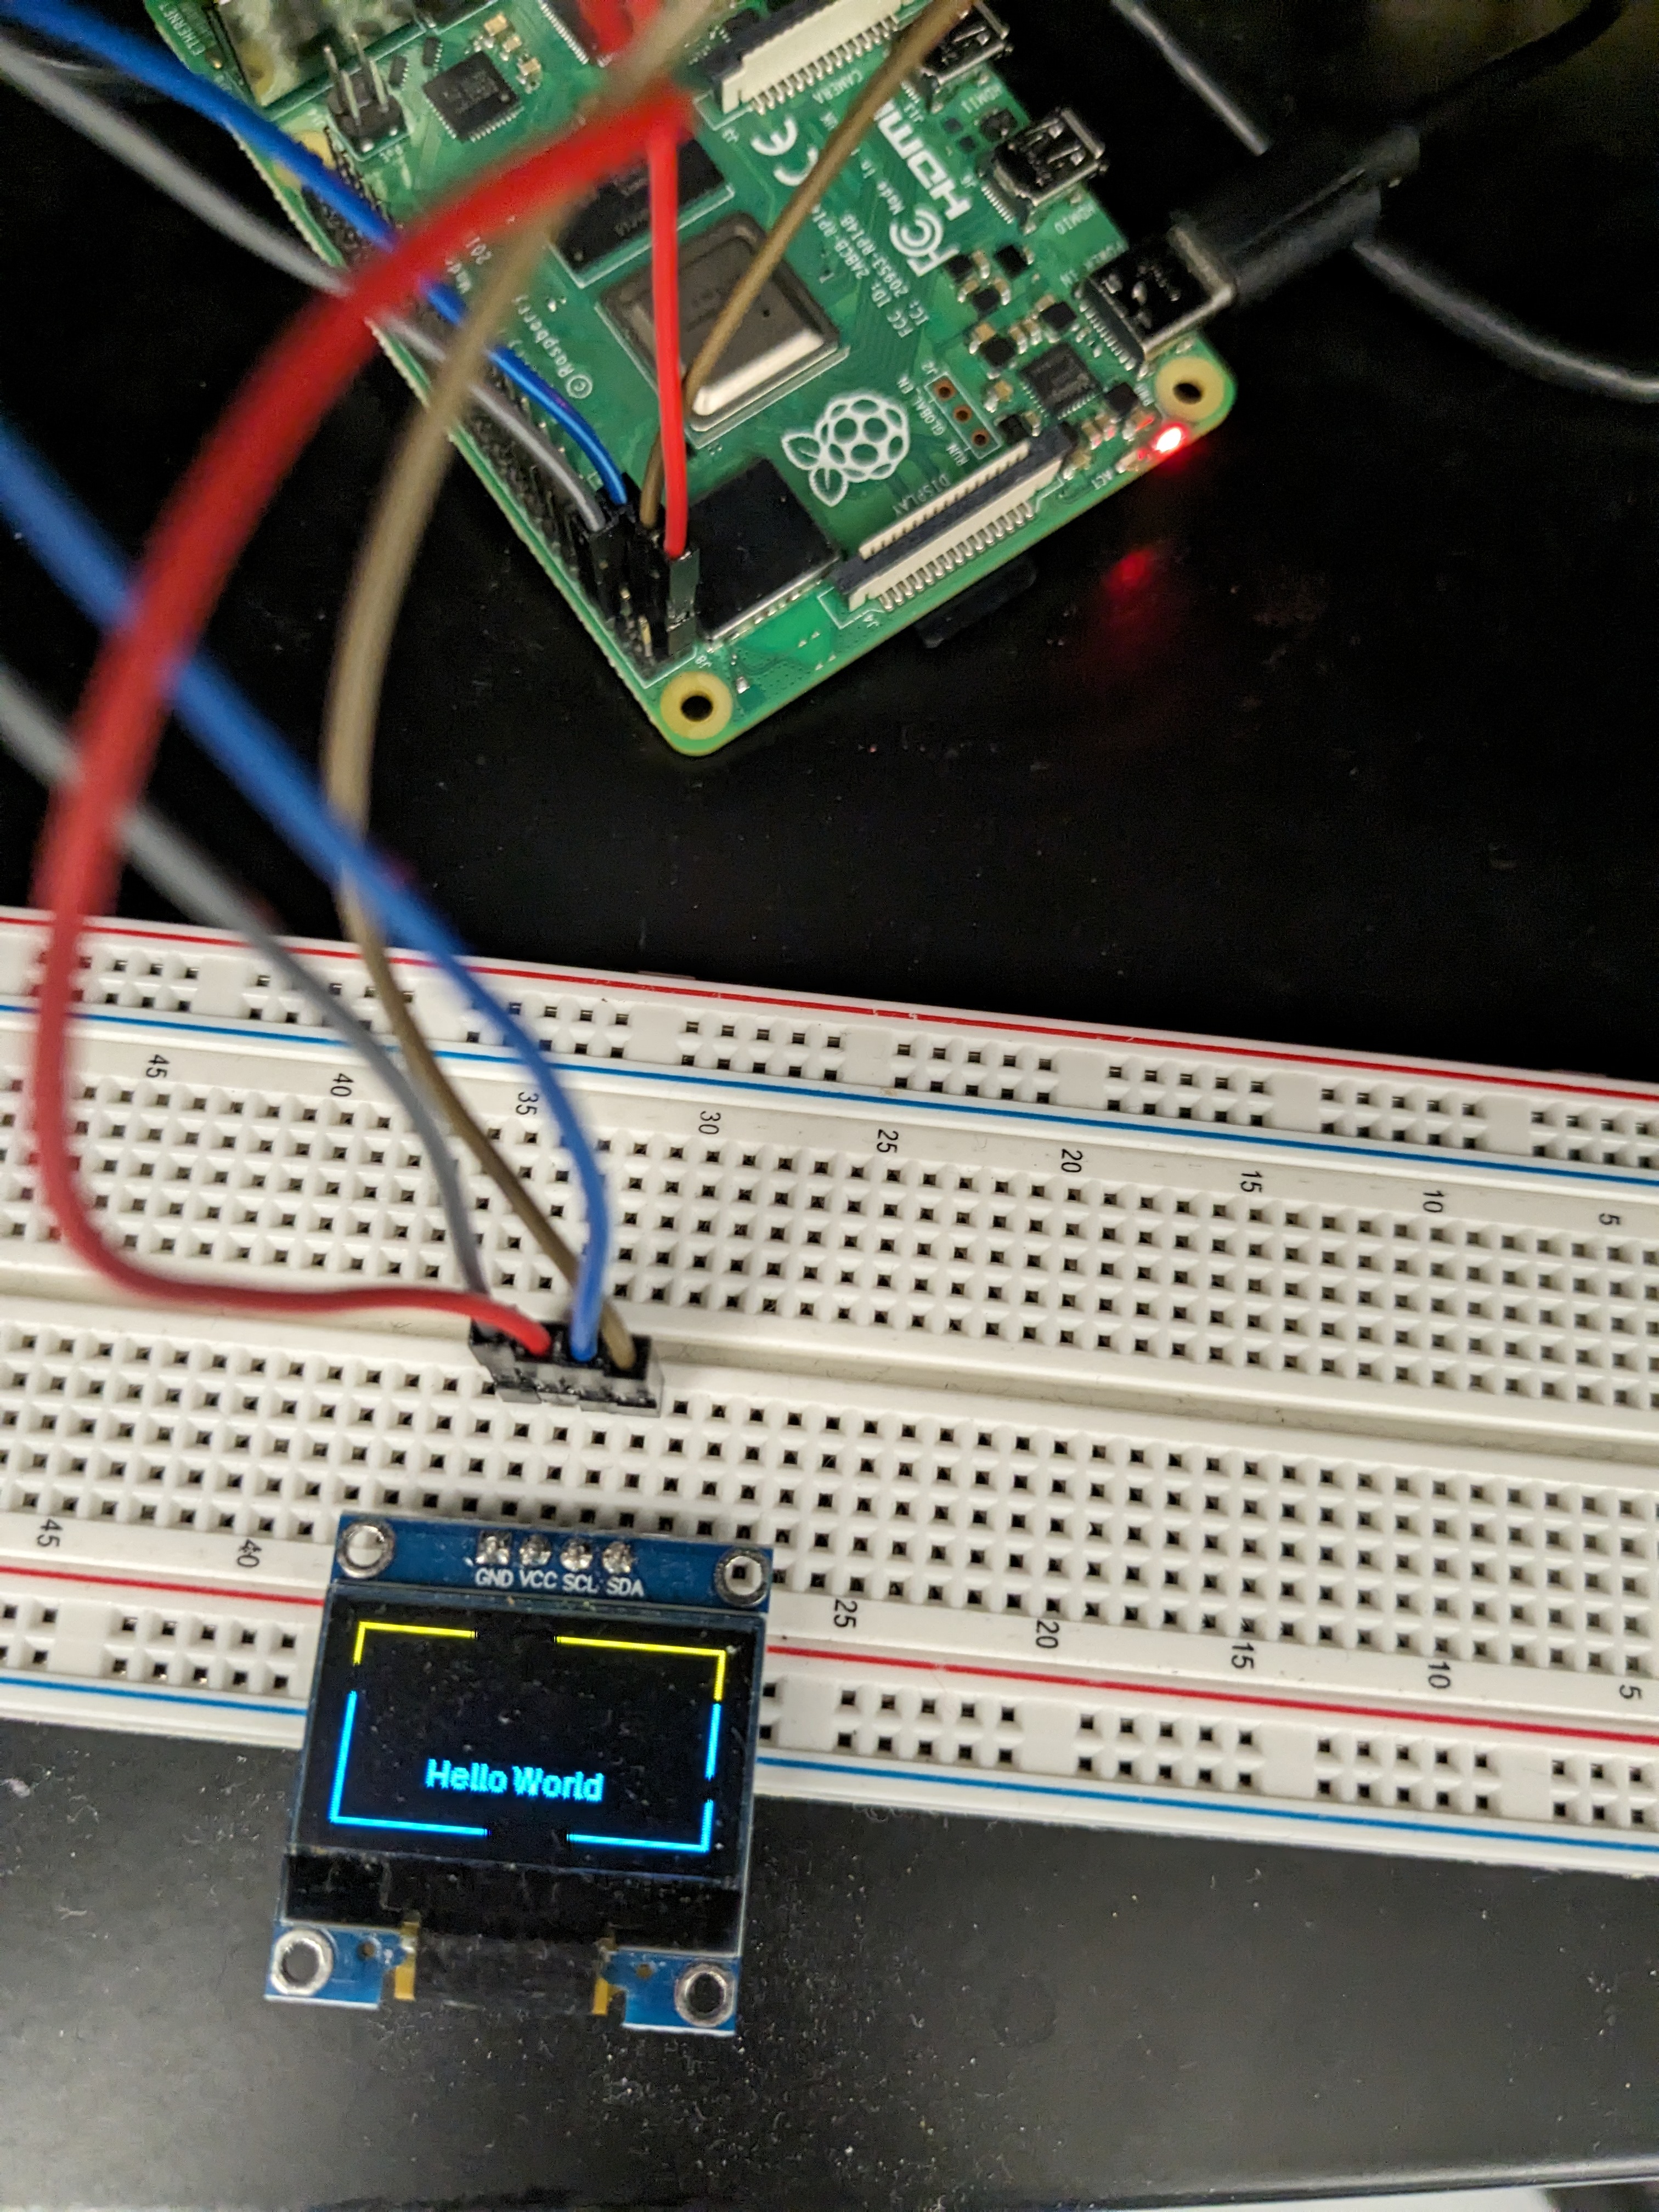
- If it is all successful, you should see
Hello Worldappear on your OLED screen for sixty seconds:
Explaining the run-display job
  run-display:
    runner: ubuntu-runner
    device: raspberry-pi-4
    depends:
      - check-i2c-connection
The first thing to note about run-display is that it uses the depends keyword followed by your previous job. This keyword will make the job wait for check-i2c-connection before it executes.
- transfer:
    name: Transfer
    SOURCE: ./display-hello-world.py
    DESTINATION: andrewswirski@192.168.1.95:~/
In the steps section, you are now using a different keyword to run, now you are using transfer. This transfers the files provided in SOURCE to the DESTINATION, using the command, you wrote in the raspberry-pi-4 device.
- run:
    name: Create an env
    on-device: True
    command: |
    python3 -m venv ~/luma-env
- run:
    name: Install luma
    on-device: True
    command: |
    ~/luma-env/bin/python -m pip install --upgrade luma.oled
- run:
    name: Run display python script
    on-device: True
    command: |
    ~/luma-env/bin/python display-hello-world.py
    fail: "Error"
These next sections, run three command on the board. The first is that you create a python virtual environment called luma-env. Then you install the luma.oled library through the pip python package manager. Finally, in this new virtual environment you execute the display-hello-world.py script that you wrote previously. This displays the message hello world to your screen for sixty seconds before stopping.
Summary
You now have a simple automated flow for your raspberry pi. In this tutorial, you looked at all the basics needed to create an automated flow:
- You set up your raspberry pi and wired it to an OLED screen
- You created a GitHub repository and connected it to BeetleboxCI
- You learned about using artifacts and BeetleboxCI's devices keyword
- You created a job that could check an i2c connection
- You created a script that could drive a display to the OLED screen
- You built a job that could transfer that python script over and run it.
- Finally you saw that image displayed on your OLED screen
From here you can now start automating your own projects by reading the official docs or you can check out our other tutorials for BeetleboxCI!