Getting Started with CI/CD for Raspberry Pi
Overview
In this tutorial, you will explore how to set up Continuous Integration and Continuous Deployment (CI/CD) for a Raspberry Pi project connected to real hardware. CI/CD is a software development practice that allows for automated building, testing, and deployment of code changes. By implementing CI/CD on a Raspberry Pi, you can streamline your development process and ensure the reliability of your software.
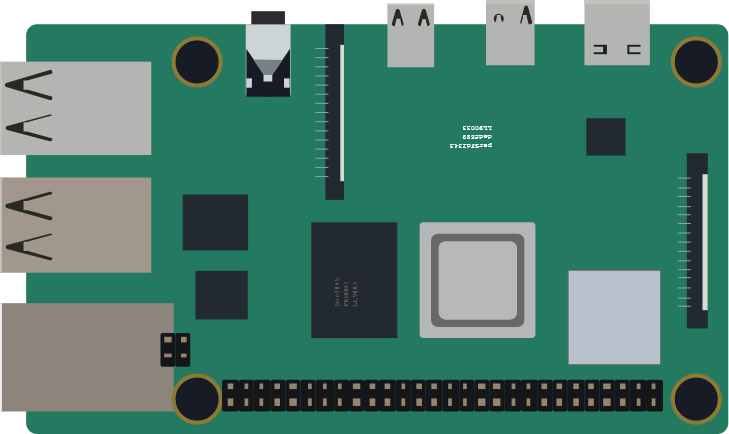
This particular tutorial uses the Raspberry Pi 4, but will work with other boards in the series as well. You will be writing to an OLED screen connected to the Raspberry Pi using i2c.
All code is available as open source from here.
What You'll Learn
- Setting up a CI environment for Raspberry Pi projects.
- Automating build, test, and deployment processes.
- Integrating BeetleboxCI tools with GitHub.
- Running Python scripts on Raspberry Pis.
- Using specific features for embedded developers on BeetleboxCI.
Tutorial Sections
This tutorial is divided into the following sections:
- Setting up your Raspberry Pi and OLED screen and creating basic pipelines..
- Writing to the OLED screen using Python.
By following this tutorial, you will gain a solid understanding of how to leverage CI/CD practices for your Raspberry Pi projects, enabling you to automate your development workflow and ensure the quality of your software.