Hello World Example
Now you have created an account, you can get started with the basics of BeetleboxCI by getting a pipeline to print Hello World.
Creating our git repo
Before you can create a pipeline, you need to create a code repository that will form the code base of the pipeline:
- Create a new folder called
.bbxin a Github code repository. - Create a file called
config.yamlin the folder you just created and copy in the following code:
runners:
 local-runner:
  image: public.ecr.aws/y2s4f3y9/ubuntu-generic:latest
jobs:
 hello-world:
  resource_spec: micro
  runner: local-runner
  current_working_directory: ~/
  steps:
   - run:
      name: Say Hello World
      command: echo "Hello World"

workflows:
 hello-world-workflow:
  jobs:
   - hello-world
Create your first pipeline
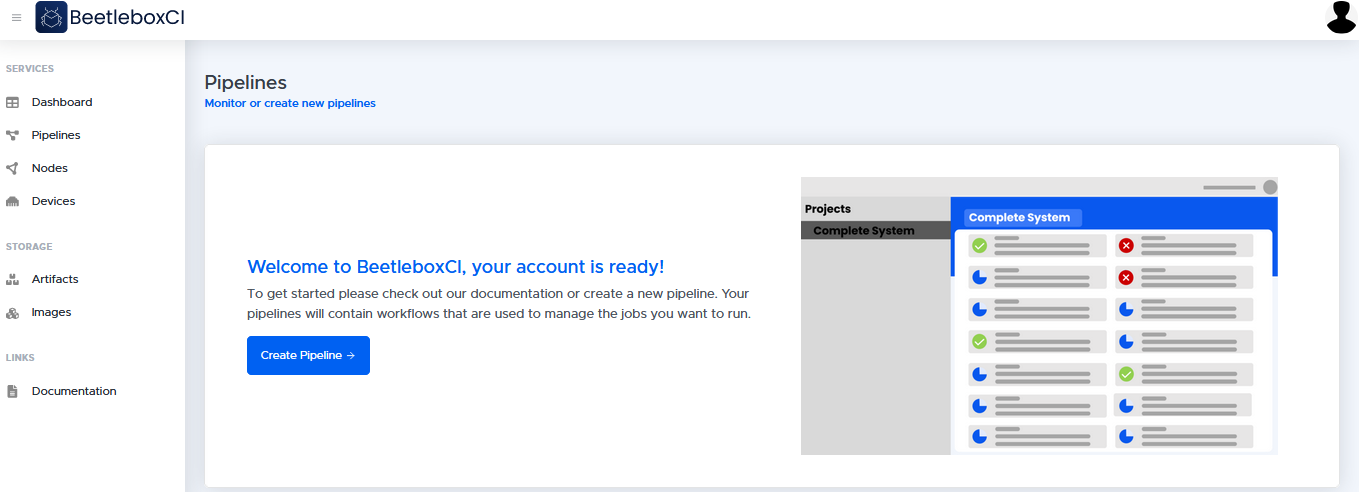
Now you have created your code repository, it is time to link it to your first pipeline. In your BeetleboxCI account, you will be greeted by the following screen:
To make your first pipeline please perform the following steps:
- Click 'Create pipeline'
- In the following screen, fill in the following:
- Pipeline Name: hello-world
- Repository URL:
https://github.com/< username>/< repo_name> - Authentication Settings —
Username: < The_name_of your_git_account> - Authentication Settings —
Password: < Github_personal_access_token>
If you created your repository with public access, then the authentication information will not be necessary. Note that Github no longer supports password authentication for cloning repositories, so a personal access token is required. If you do not already have a personal access token for Github, you can follow this link from Github which shows how to create one.
As an alternative to your username and a personal access token, you can generate an SSH key to authenticate access to private git repositories (given that the public key is added either to your Github account or just as a deploy key to the repository). More information on this can be found in the VCS Integration section.
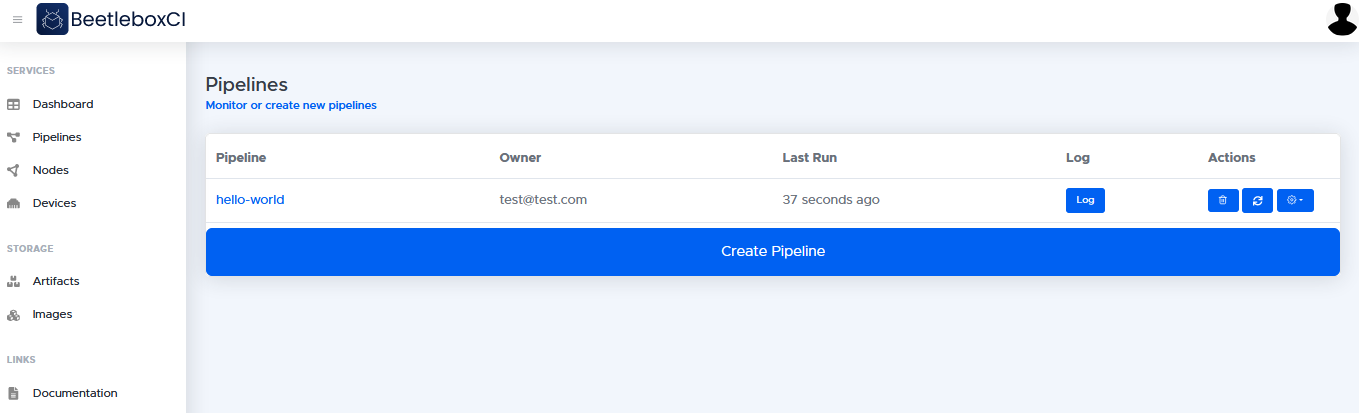
- Click proceed. You will now be redirected to the pipelines page where you can see the pipeline that you just created.
- On the pipelines page, click hello-world so see the workflows in this pipeline
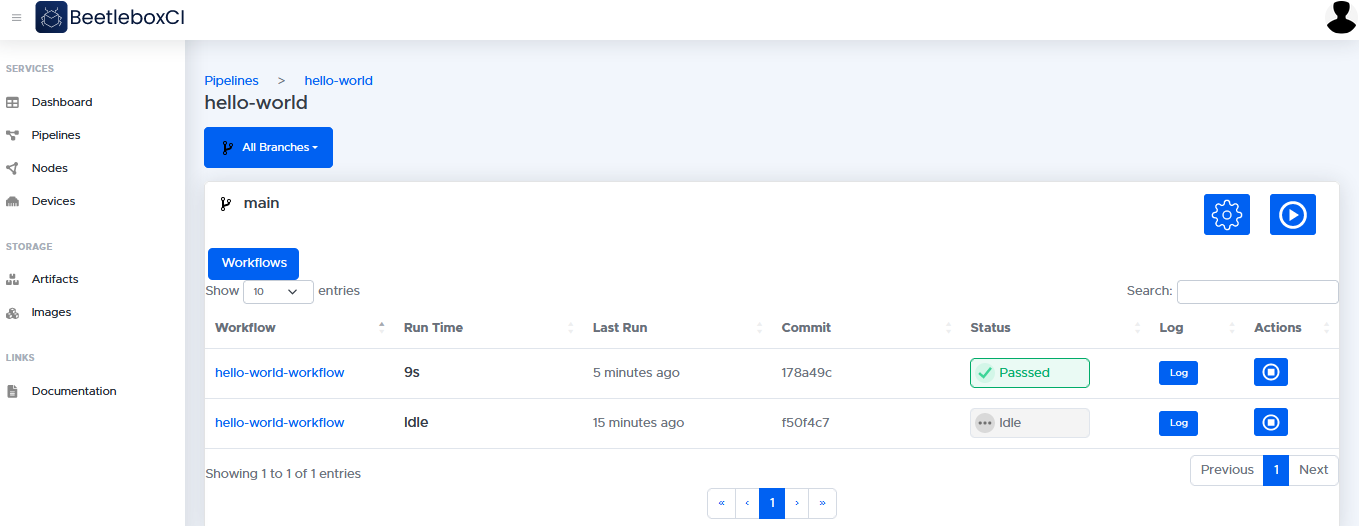
- Click the run button on the top right hand corner of the workflows list. The pipeline will begin running and it should take around 30 seconds to complete.
- You will see "Passed" on the hello-world pipeline once it has completed.
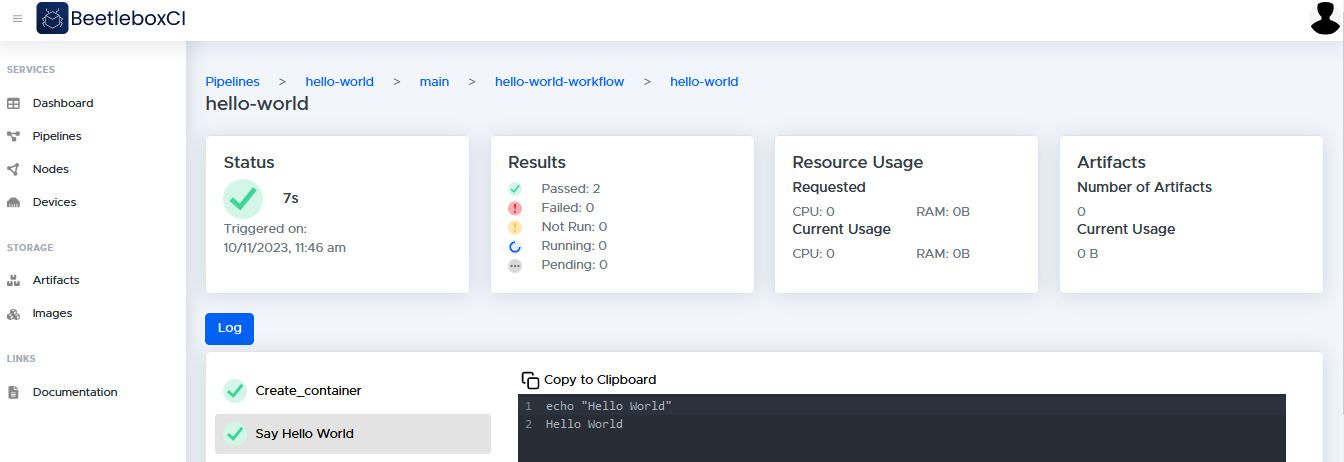
Viewing our output
- You can also check our logs to make sure the output is correct. To do this, click on the pipeline name
hello-world.
- In this page you will be able to view the workflows of the
hello-worldpipeline. There will be a single workflow namedhello-world-workflow, which will take us to the jobs that make up that workflow.
- In the jobs page, you may view the jobs that are used in the
hello-world-workflow. Click on the job namehello-world
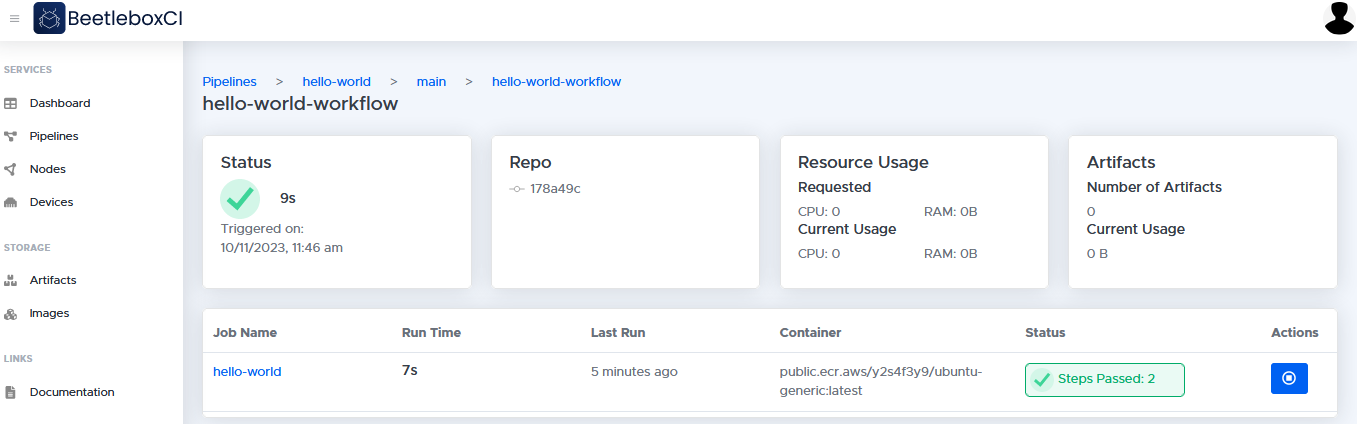
- From here, you will be able to view details about the job, including an overview of its status as well as logs and artifacts generated by this job.
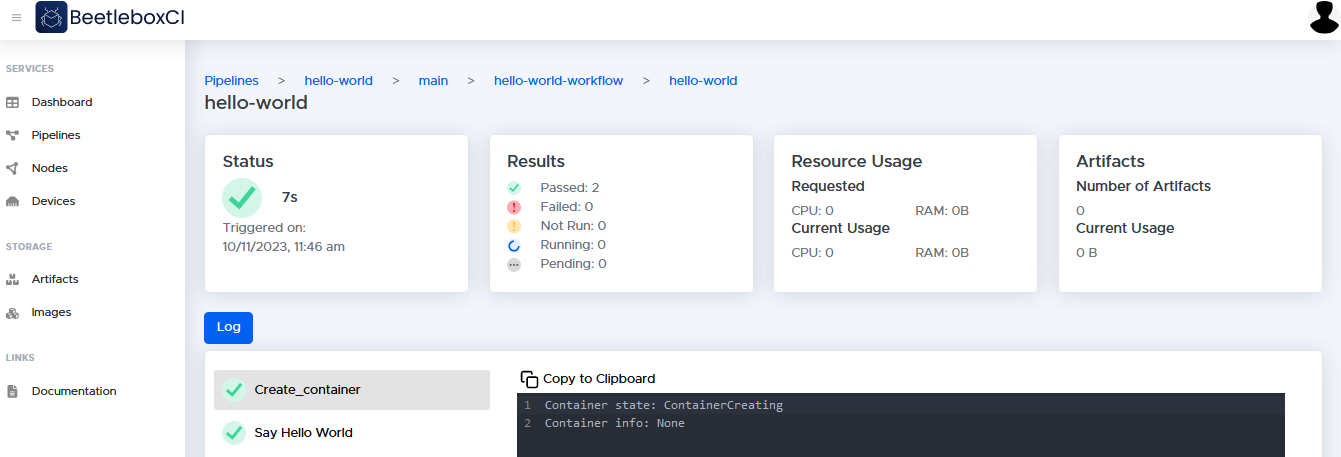
- By checking out the
Log, you can see the generated logs by the job. In this case, you will be able to see that the job has successfully outputted theHello Worldmessage.
Congratulations you have run your first pipeline!